



CHECKLIST: How to Correctly Clean Your Hair Styling Tools
Give your styling tools a little TLC to keep them running as smoothly as your locks.
Most people overlook hair styling tool maintenance, but we’re here to tell you that not removing built-up fluff, debris, grease, and gunk can really wreak havoc on your locks! Plus, as all professional hairstylists know, learning how to clean your hot styling tools is imperative for removing bacteria and keeping your hair healthy and glowy, season after season.
Here's a quick and easy guide on how to clean different hair styling appliances:
How to Clean Your HAIR DRYER
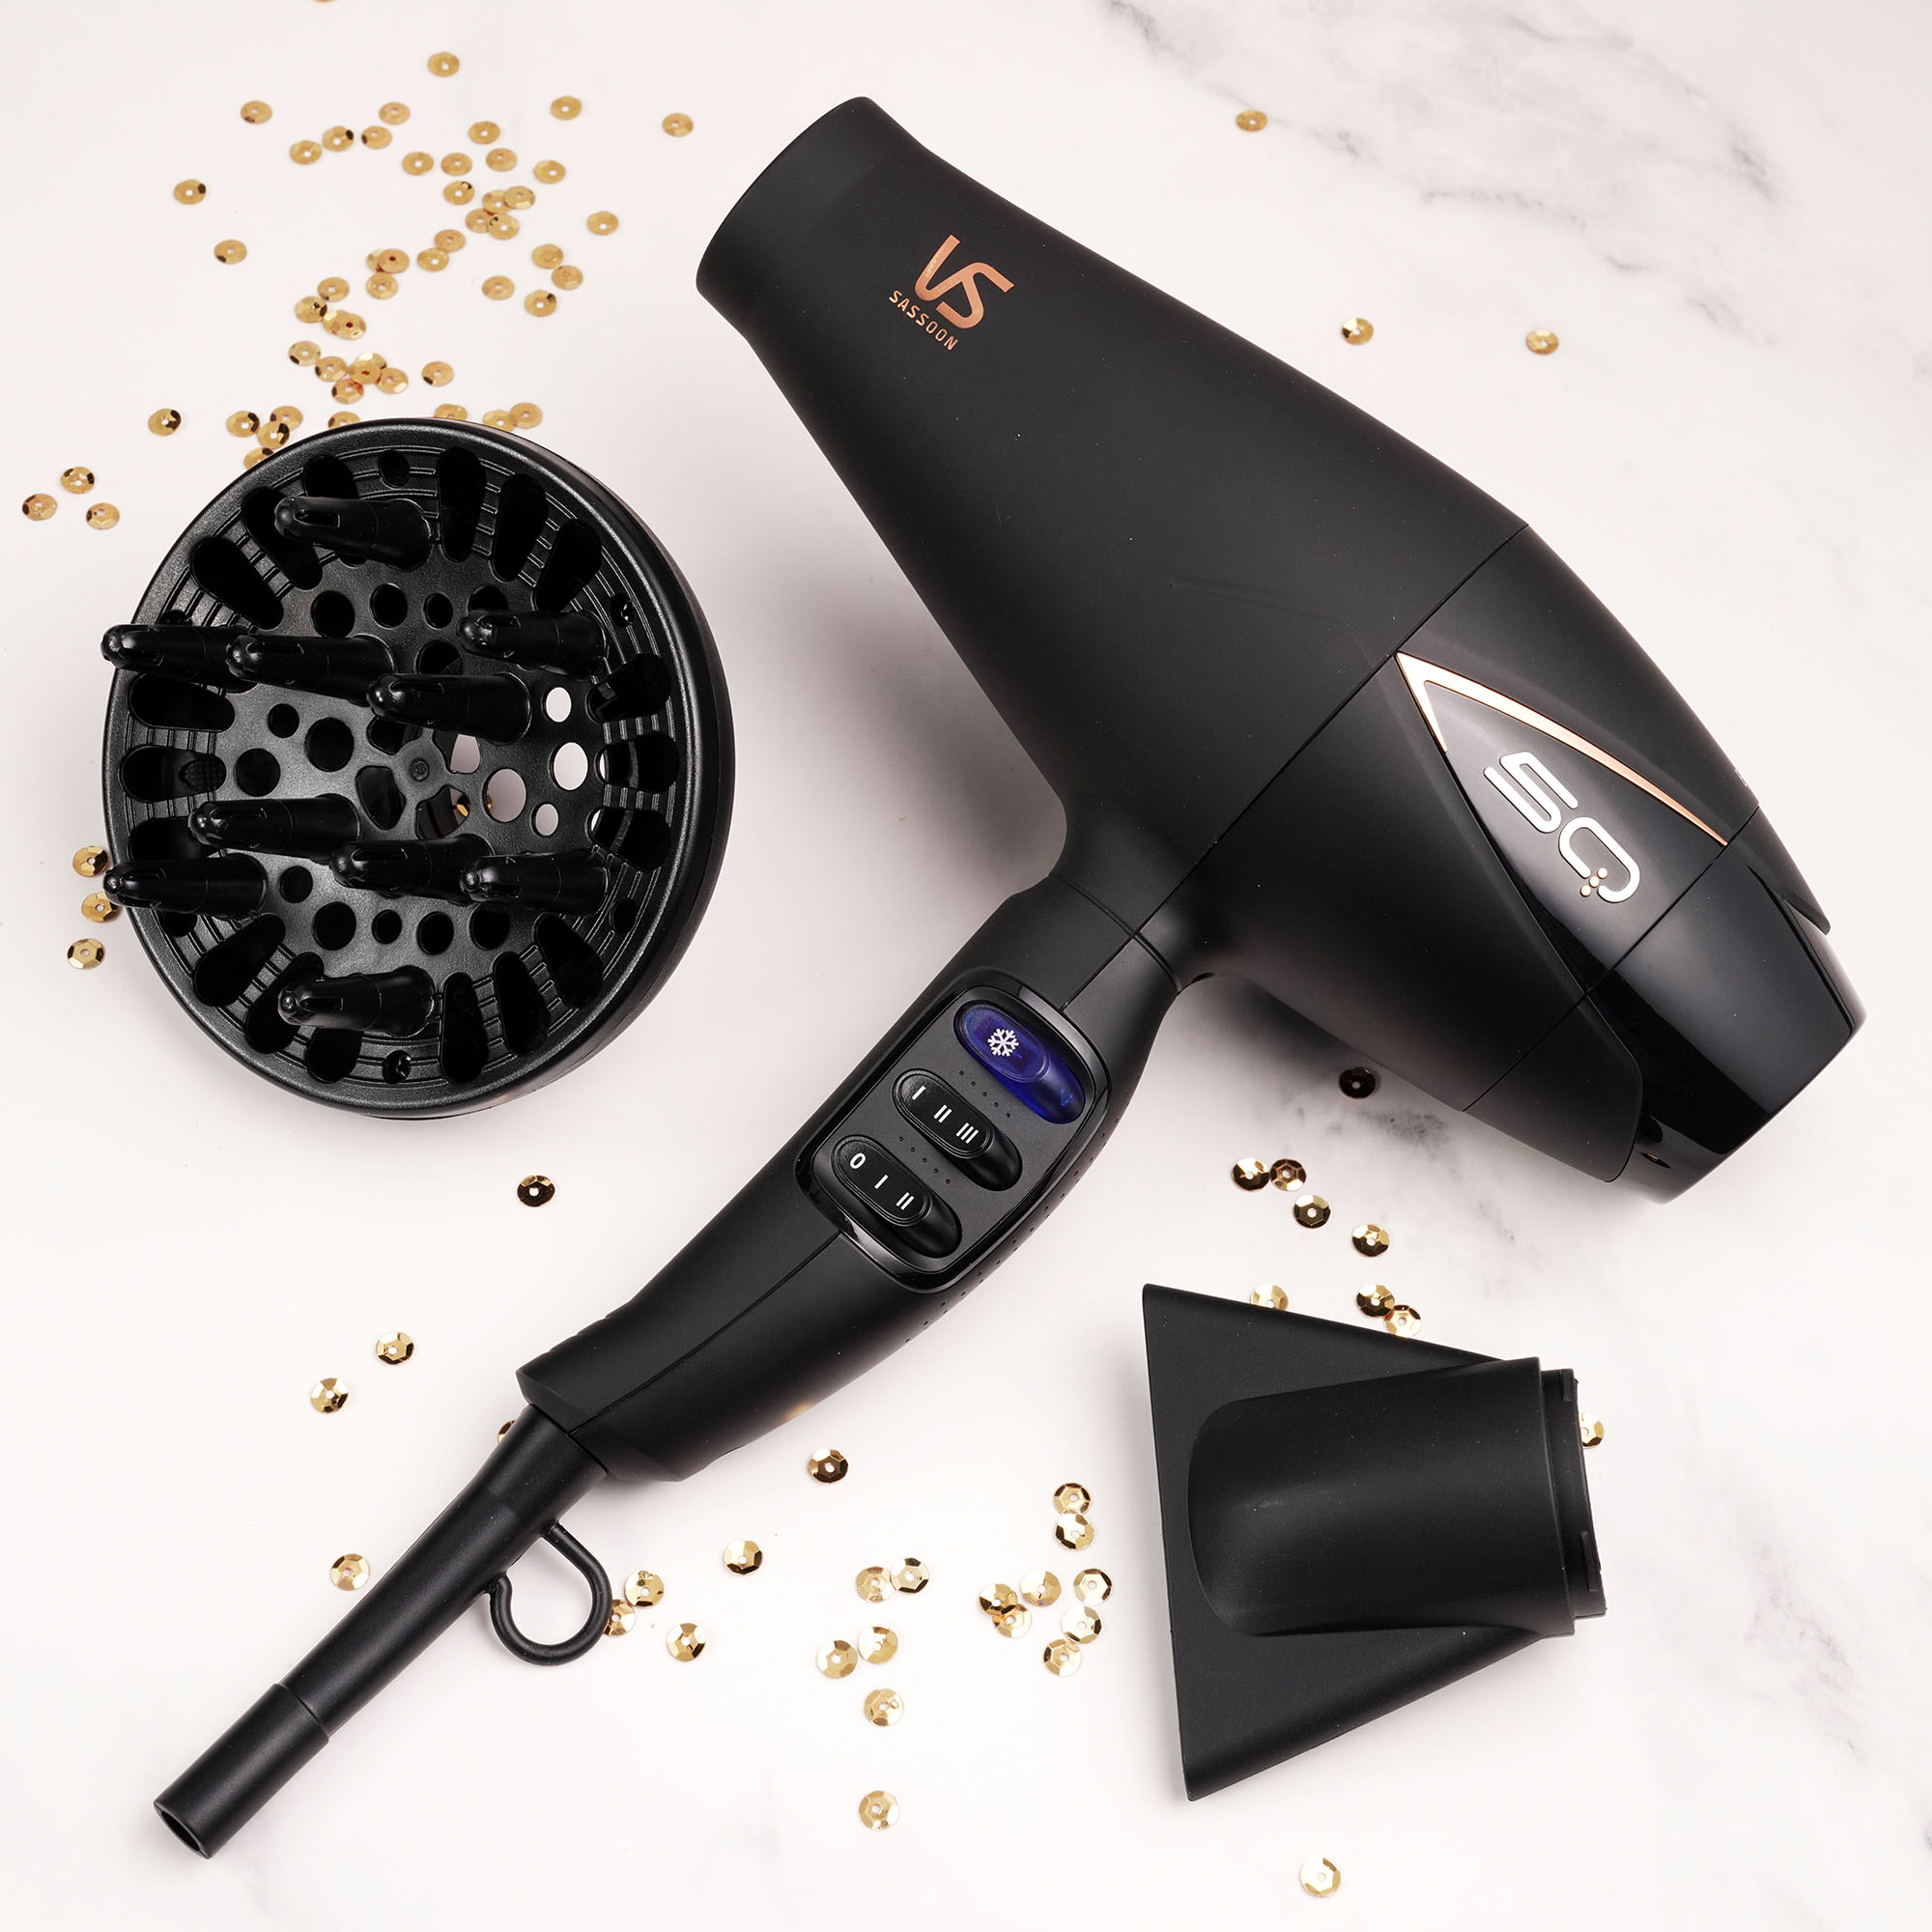
When was the last time you cleaned your hair dryer? If you answered, ‘never,’ you’re definitely not alone.
Cleaning the Rear Filter
We know it’s easy to forget that your hair dryer needs regular cleaning, but blocked or clogged air intake vents can cause your hair dryer to overheat and reduce performance. Over time, dust, hair, and styling product residue can restrict airflow, making it harder for your hair dryer to operate safely and efficiently. That’s why the rear filter should be checked and cleaned regularly - to help maintain optimal performance and prevent overheating.
Follow these simple steps to safely clean your hair dryer and keep it working efficiently:
How to clean the rear filter of your hair dryer:
- Unplug your hair dryer before cleaning.
- Give the hair dryer time to allow it to cool completely.
- Holding the handle or body of your hairdryer, twist to detach and remove the rear filter (if your hair dryer includes a removable rear filter). If your hairdryer has a fixed rear filter, skip this step.
- Use a soft brush to gently remove built-up hair, dust, and debris from the rear filter and vents.
- Replace the rear filter.
Regular hair dryer maintenance helps ensure proper airflow and consistent heat distribution. If your hair dryer overheats, an automatic safety device may shut the dryer off or turn the heat off to prevent damage or personal injury. If this happens, unplug the hairdryer and allow it to cool for at least 15 minutes before switching it back on again. Always make sure the air vents are 100% clean before use.
PRO TIP: A clean, dry toothbrush works great for removing dust from small or hard-to-reach areas.
Cleaning the Hair Dryer Housing & Attachments
Keeping the exterior of your hair dryer and its attachments clean helps prevent product build-up, supports proper airflow, and maintains the look and performance of your dryer. Regular cleaning of the housing and attachments is quick and easy.
How to clean the housing, concentrator and diffuser attachments:
- Unplug your hair dryer before cleaning.
- Give the hair dryer time to allow it to cool completely.
- Remove the concentrator nozzle or diffuser from the hair dryer.
- Wipe the exterior housing using a soft, dry or slightly damp cloth (a microfiber or lint-free cloth) to remove dust, residue, and fingerprints. Avoid harsh cleaners, alcohol, or abrasive materials.
- Clean the attachments by wiping both the inside and outside with a clean, dry or lightly damp cloth.
- Allow all parts to dry completely before reattaching the attachments and using the hair dryer.
Regularly wiping down the housing and cleaning the concentrator and diffuser helps maintain optimal airflow, supports even heat distribution, and keeps your hair dryer performing at its best.
Note: Always consult your hair tool’s instruction booklet for product-specific guidance and safety information.
How to Clean Your HAIR STRAIGHTENER
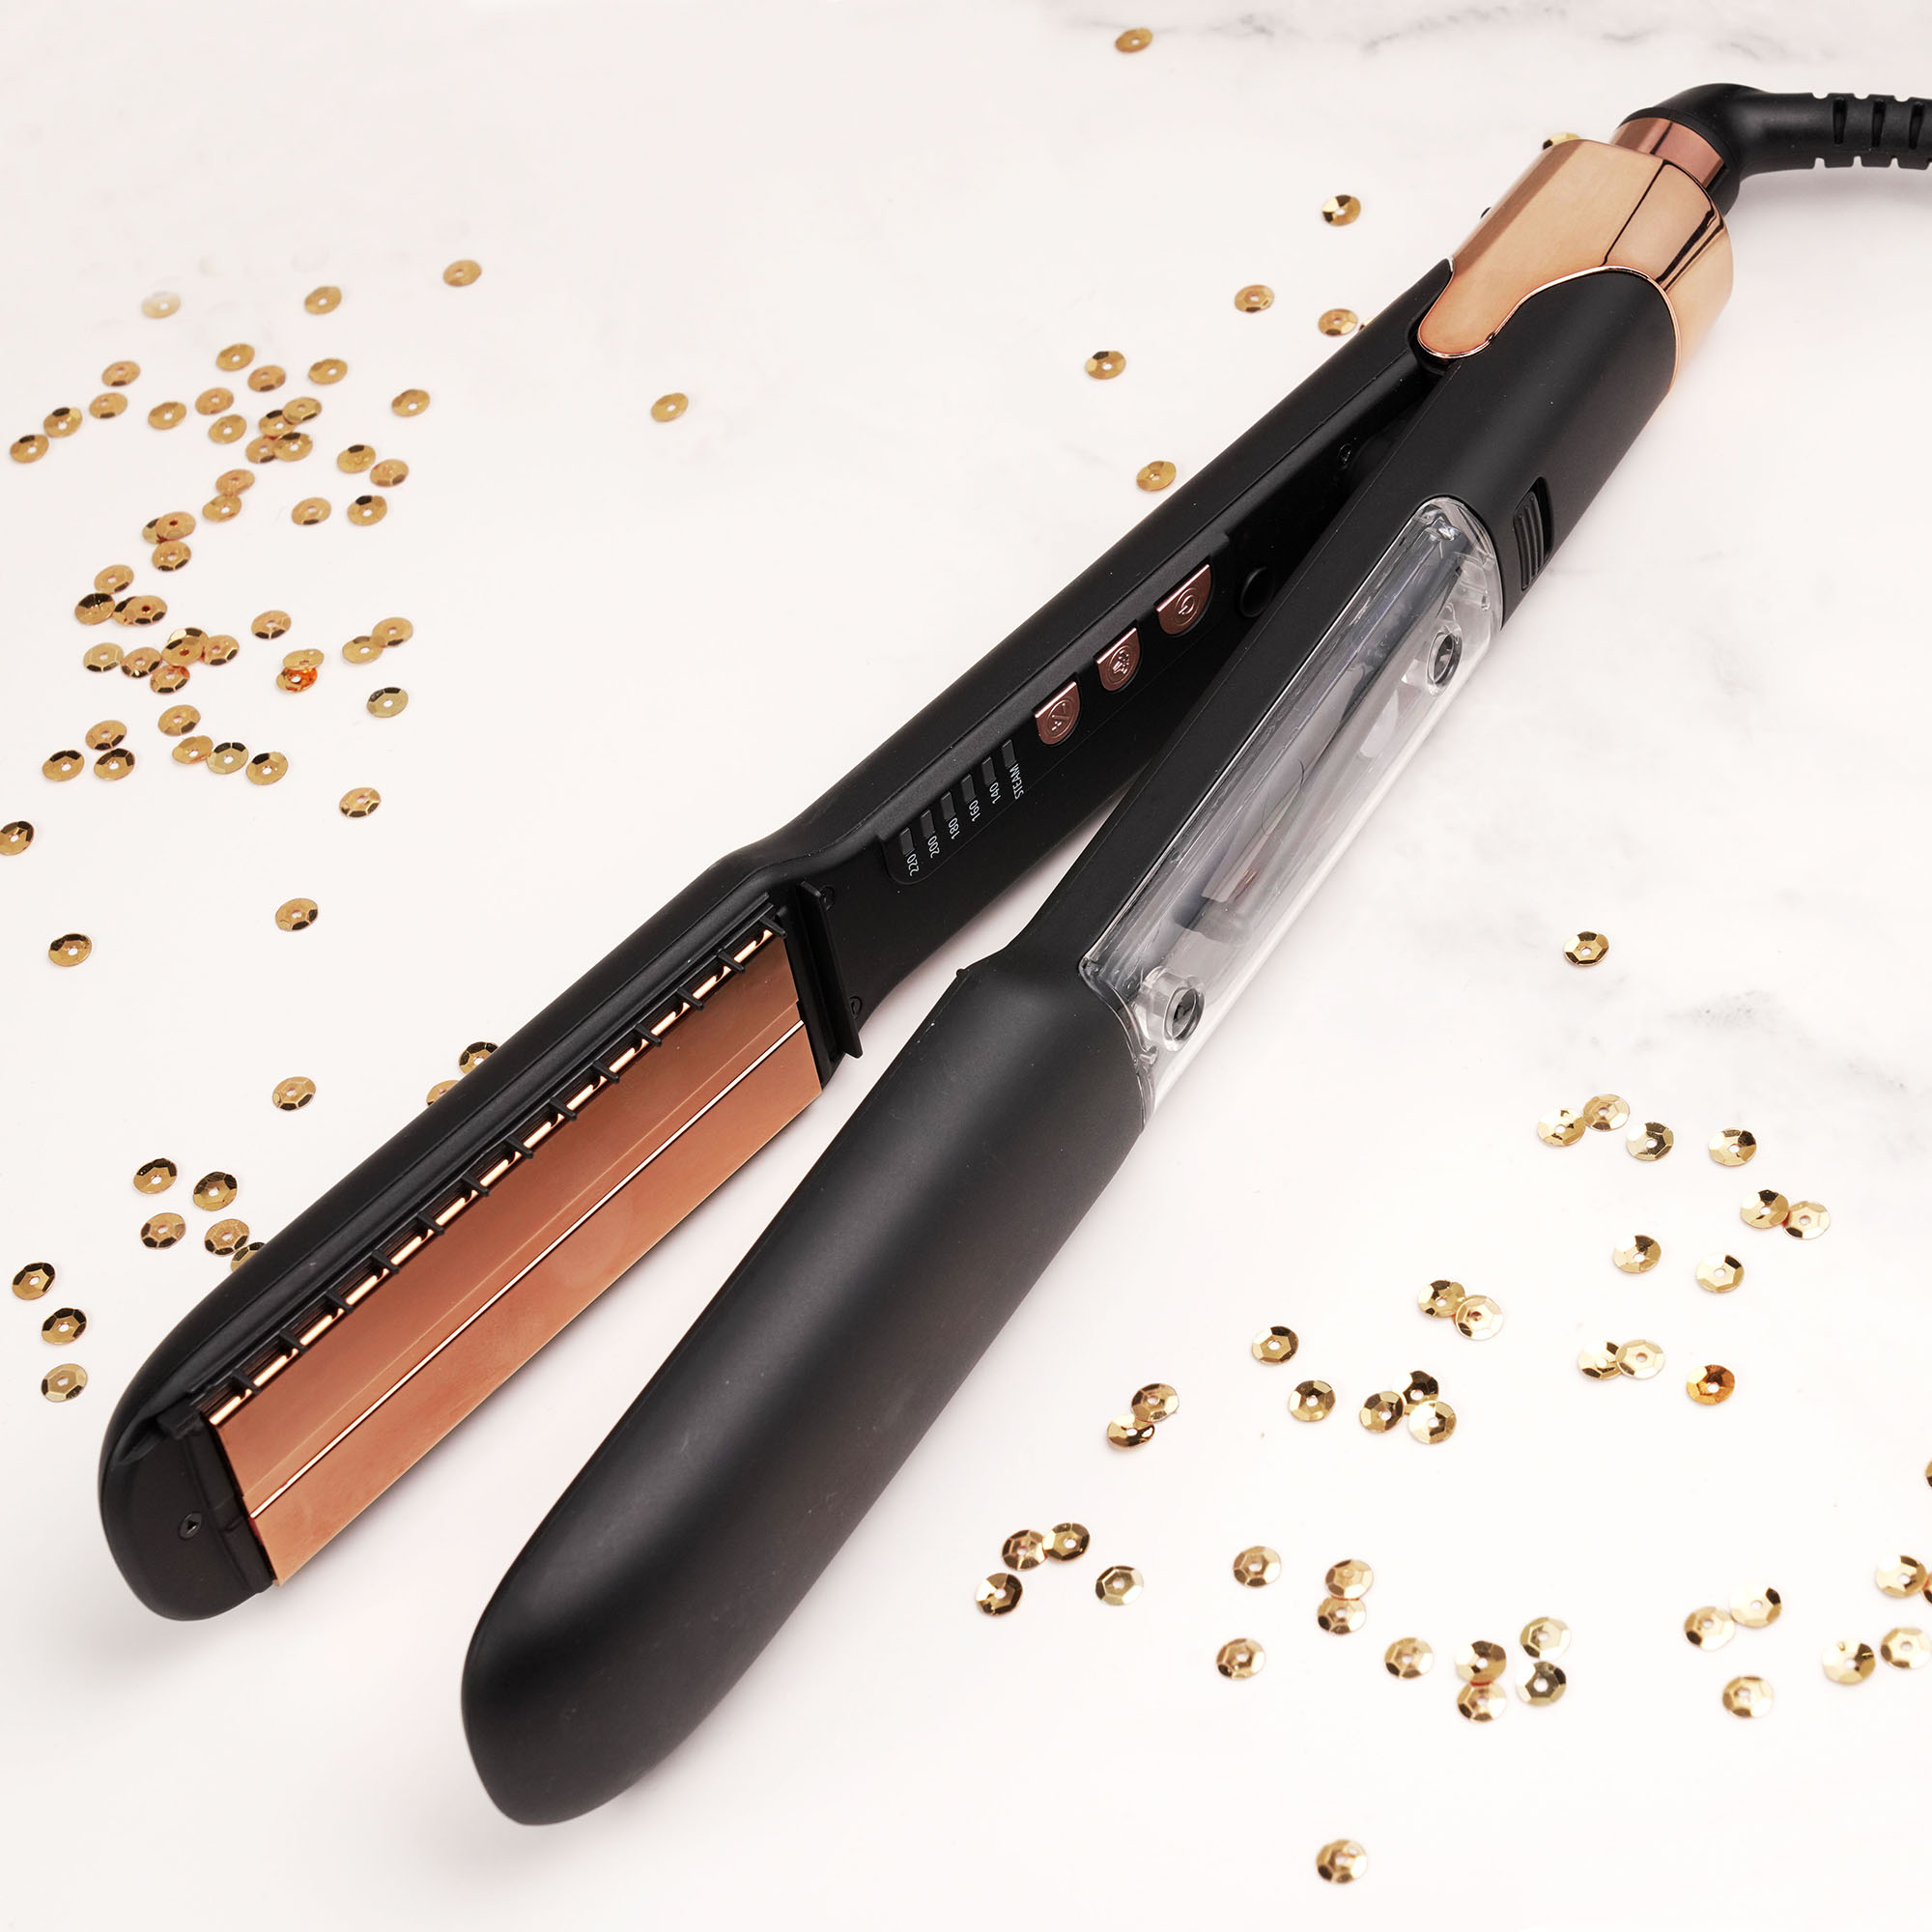
Hair straighteners can quickly collect residue on the plates from styling sprays, heat protectants, and hair products. Over time, this build-up can make your hair look dull, cause uneven heat distribution, and make styling more difficult. Regular hair straightener cleaning helps restore smooth performance and keeps your flat iron working at its best.
Follow these simple steps to clean your hair straightener for top performance:
Cleaning the Plates & Housing
- Unplug your hair straightener before cleaning.
- Give the hair straightener time to allow it to cool completely.
- Gently wipe the straightening plates using a clean, soft, dry or slightly damp cloth (a microfiber or lint-free cloth will help to prevent scratches and residue transfer) to remove product build-up. Avoid alcohol, acetone, abrasive pads, or household cleaners, as these can damage plate coatings and reduce glide.
- Wipe the outside housing to remove dust, residue, and fingerprints.
- Ensure all surfaces are completely dry before storing or using the straightener again.
Regular flat iron maintenance improves glide, helps prevent snagging, and delivers smoother, more consistent results. Depending on how often you use your hair straightener, clean regularly, not just when dirty - wipe the plates weekly or after heavy product use to prevent build-up from hardening and becoming harder to remove.
PRO TIP: For heavier product build-up, a fragrance-free baby wipe can be used on cooled plates. Avoid harsh chemicals or abrasive materials, as these may damage the plate coating.
Note: Always consult your hair tool’s instruction booklet for product-specific guidance and safety information.
How to Clean Your CURLING TONG
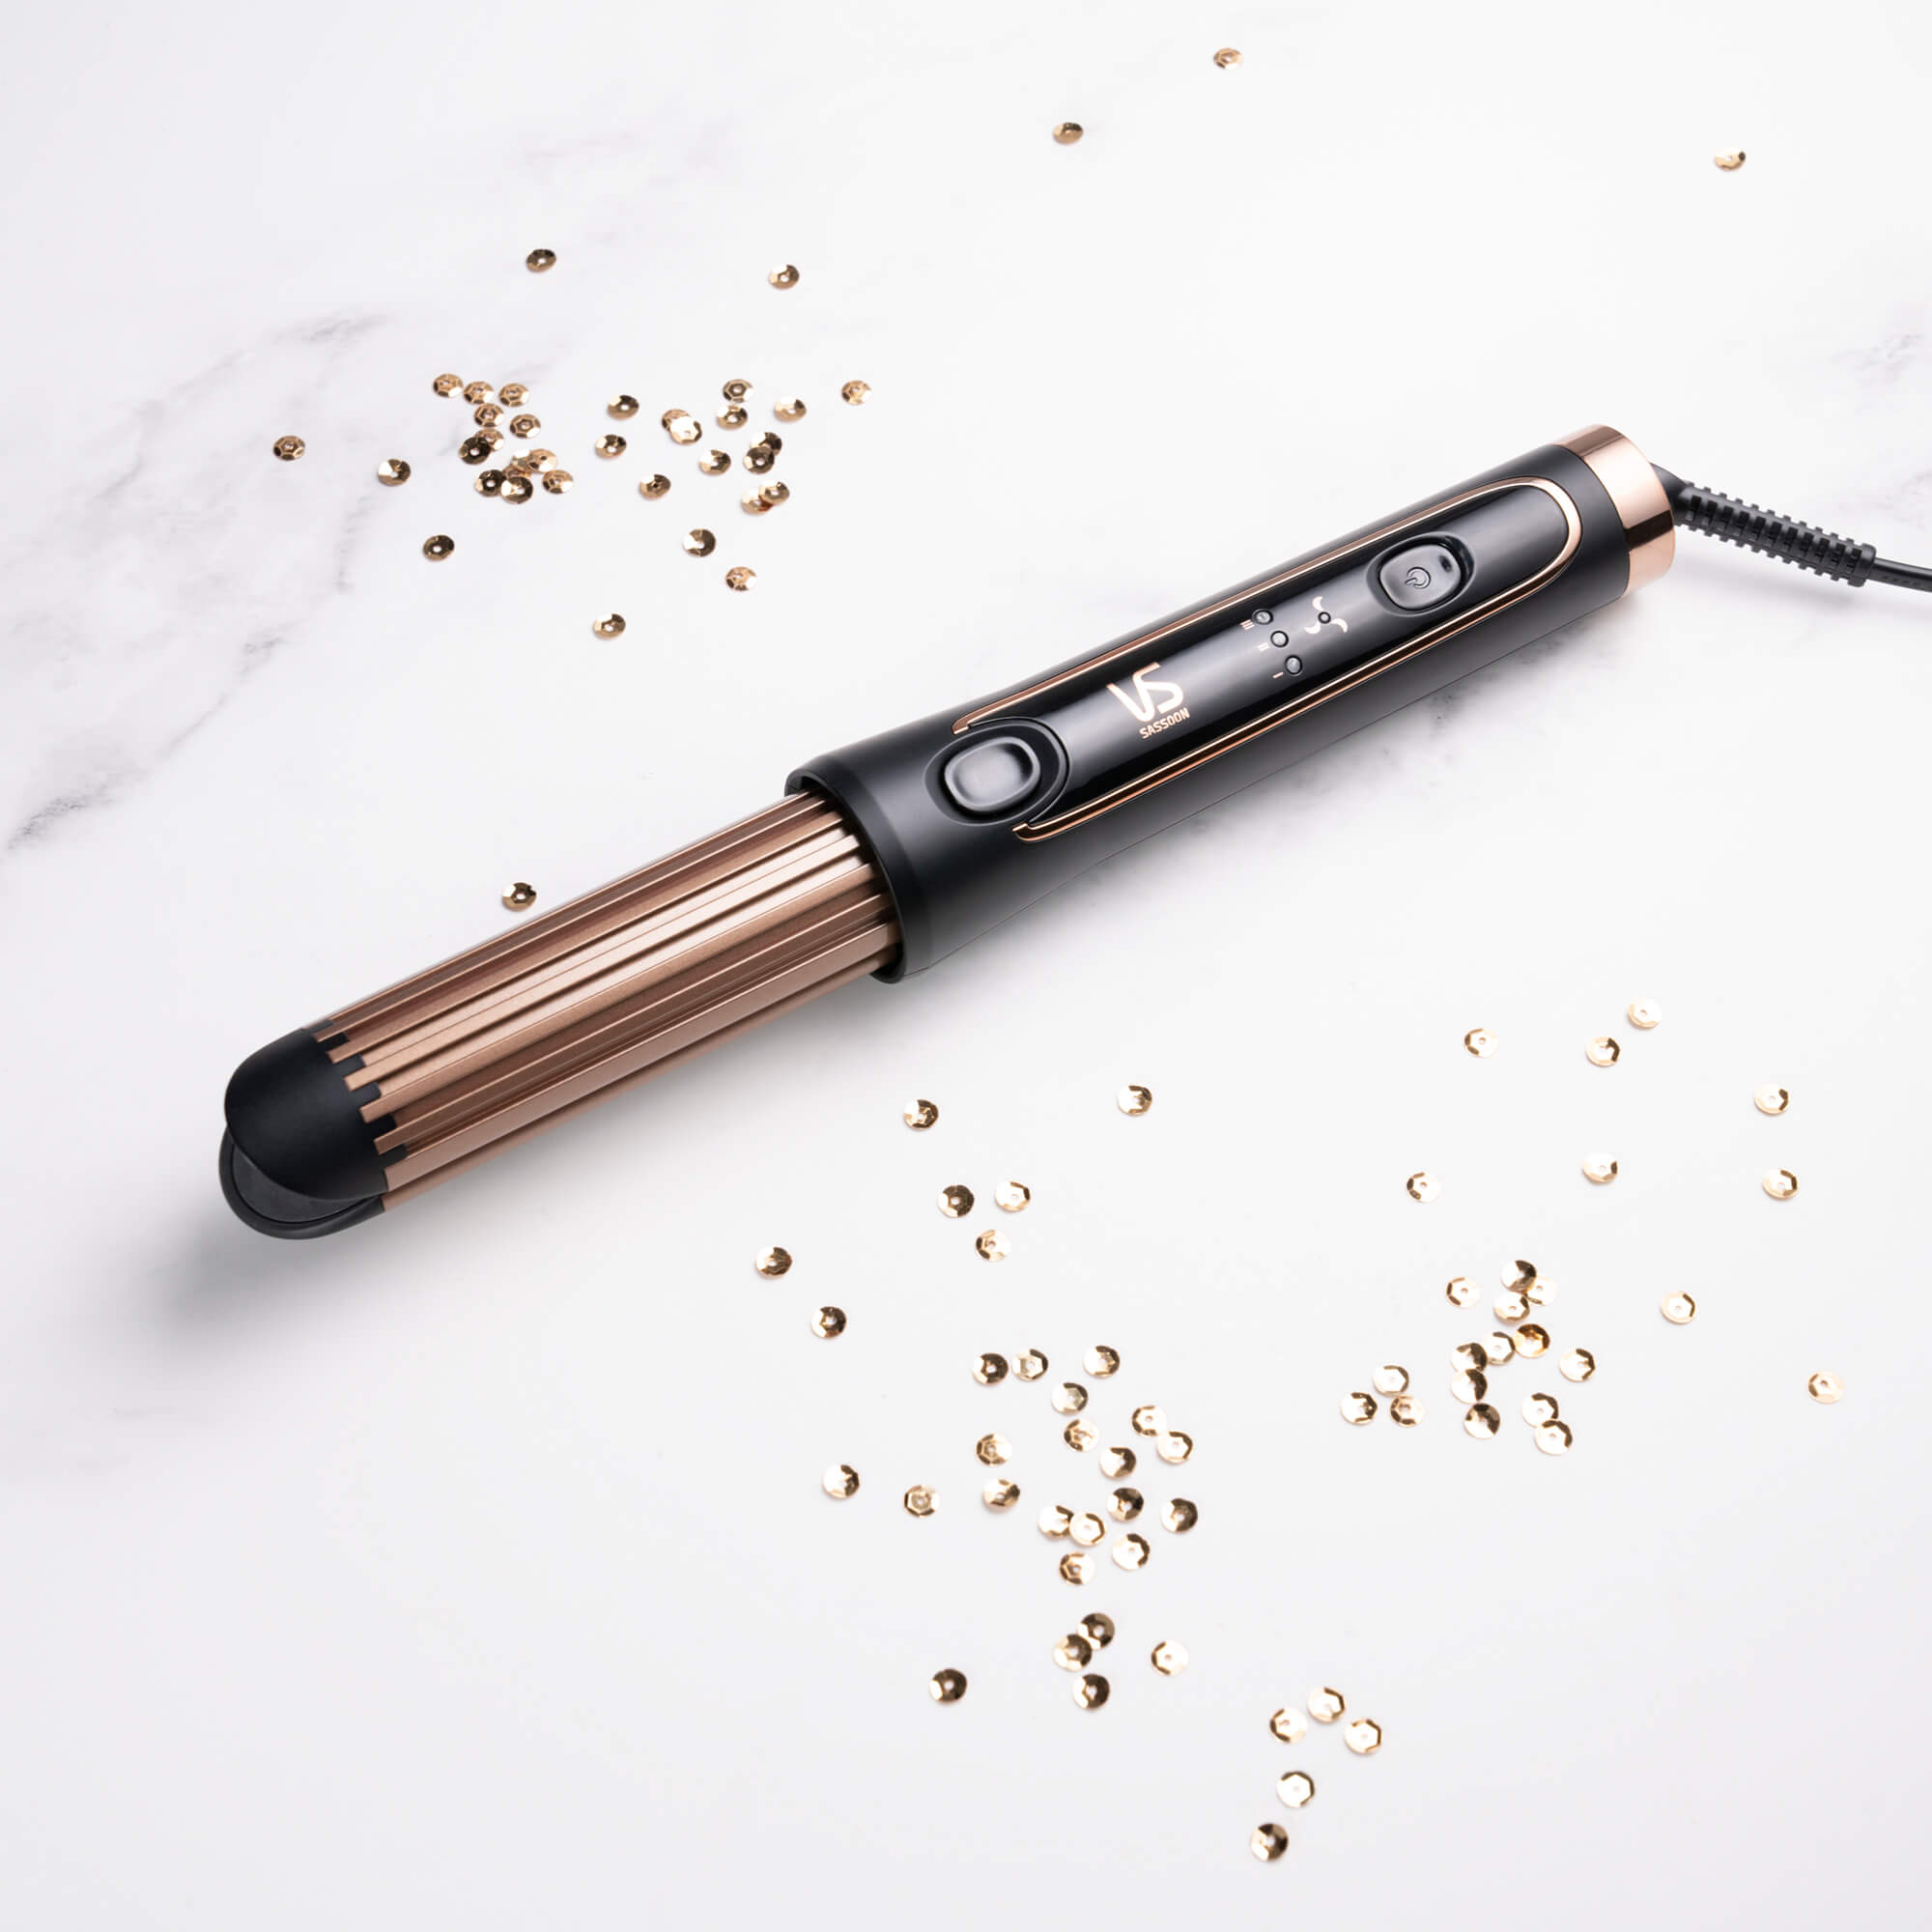
Think of your styling tools like your skincare routine - just as you cleanse, exfoliate, and moisturise to keep your skin looking its best, your curling tong, curling wand and curling iron all deserve regular care too. After all, your styling tools help keep your hair looking gorgeous, so they deserve some attention in return!
Hair curlers can accumulate build-up from hair sprays, heat protectants, and other styling products. This residue can affect performance, cause uneven heat, and make styling more difficult. Regular curling iron maintenance not only prolongs the lifespan of your tools but also ensures smoother, more defined curls with every styling session.
Here’s how to clean your hair curler to ensure glossy, bouncy curls every time:
Cleaning the Barrel & Housing
- Unplug your curler before cleaning.
- Give the hair curler time to allow it to cool completely.
- Wipe the barrel with a soft, dry or slightly damp cloth to remove hair product residue. Avoid harsh chemicals or abrasive pads, as they can damage the barrel coating.
- Use a cotton swab or soft brush for hard-to-reach areas, such as the base of the barrel or around the clamp.
- Clean the handle and housing with a dry or slightly damp cloth to remove dust, product residue, and fingerprints.
- Allow the curler to dry completely before plugging it back in or storing it.
PRO TIP: For stubborn product build-up, use a fragrance-free baby wipe on the cooled barrel, then dry with a paper towel or cloth, but never soak your curler or use harsh chemicals.
Note: Always consult your hair tool’s instruction booklet for product-specific guidance and safety information.
How to Clean Your AUTOMATIC HAIR CURLER
.jpg)
You might think automatic curlers don’t get dirty, but the truth is they do! Even though these clever styling tools create effortless, salon-quality curls at home, they can still collect hair product residue, dust, and loose strands over time. Regular cleaning keeps your rotating auto curler working smoothly, prevents hair snagging, and ensures the barrel and curling chamber perform at their best - especially if you style frequently.
Follow these steps to safely clean your automatic curler:
Cleaning the Barrel, Curling Chamber & Housing
- Unplug your automatic curler before cleaning.
- Give the auto curler time to allow it to cool completely.
- Inspect and remove any stray, loose hairs and debris from the curling chamber and barrel. Gently remove them using your fingers or a soft brush.
- Wipe down the exterior with a soft, dry, or slightly damp cloth to clean the handle, housing, and outer surfaces. Avoid harsh chemicals or abrasive pads.
- Carefully wipe the inside barrel surface and curling chamber with a damp cloth to remove product build-up. Use a cotton swab or soft brush for hard-to-reach areas.
- Allow the auto curler to dry completely before using or storing.
Regular auto curler cleaning not only prolongs the lifespan of your styling tool, it also helps prevent overheating, snagging, and uneven curls.
Note: Always consult your hair tool’s instruction booklet for product-specific guidance and safety information.
How to Clean Your HAIR ROLLERS
.jpg)
You might think hot rollers stay clean since they’re enclosed and heat up quickly, but they can still collect hair product residue, dust, and stray hairs over time. Regular cleaning ensures your hot rollers heat evenly, glide smoothly over your hair, and create flawless curls every time you style.
Follow these steps to safely clean your hot rollers and keep your set performing at its best:
Cleaning the Roller Set
- Unplug your hair roller set before cleaning.
- Let the hair roller set, rollers, and base cool completely.
- Inspect and remove any stray, loose hairs and debris from each of the rollers. Gently remove them using your fingers or a soft brush.
- Use a soft, dry or slightly damp cloth to wipe each roller. Avoid using harsh chemicals or abrasive cleaners that could damage the roller surface or heat coating.
- Wipe the clips, pins, and base with a damp cloth to remove product build-up, dust, and residue.
- Ensure all rollers, clips, and the base are completely dry before plugging them back in or storing them. Moisture can affect performance and safety.
PRO TIP: Check your rollers and housing regularly for build-up, especially if you use hairspray, mousse, or styling gels frequently. Regular cleaning keeps heat consistent, prevents snagging, and ensures your curls look smooth and polished every time.
Note: Always consult your hair tool’s instruction booklet for product-specific guidance and safety information.
How to Clean Your HOT AIR STYLER
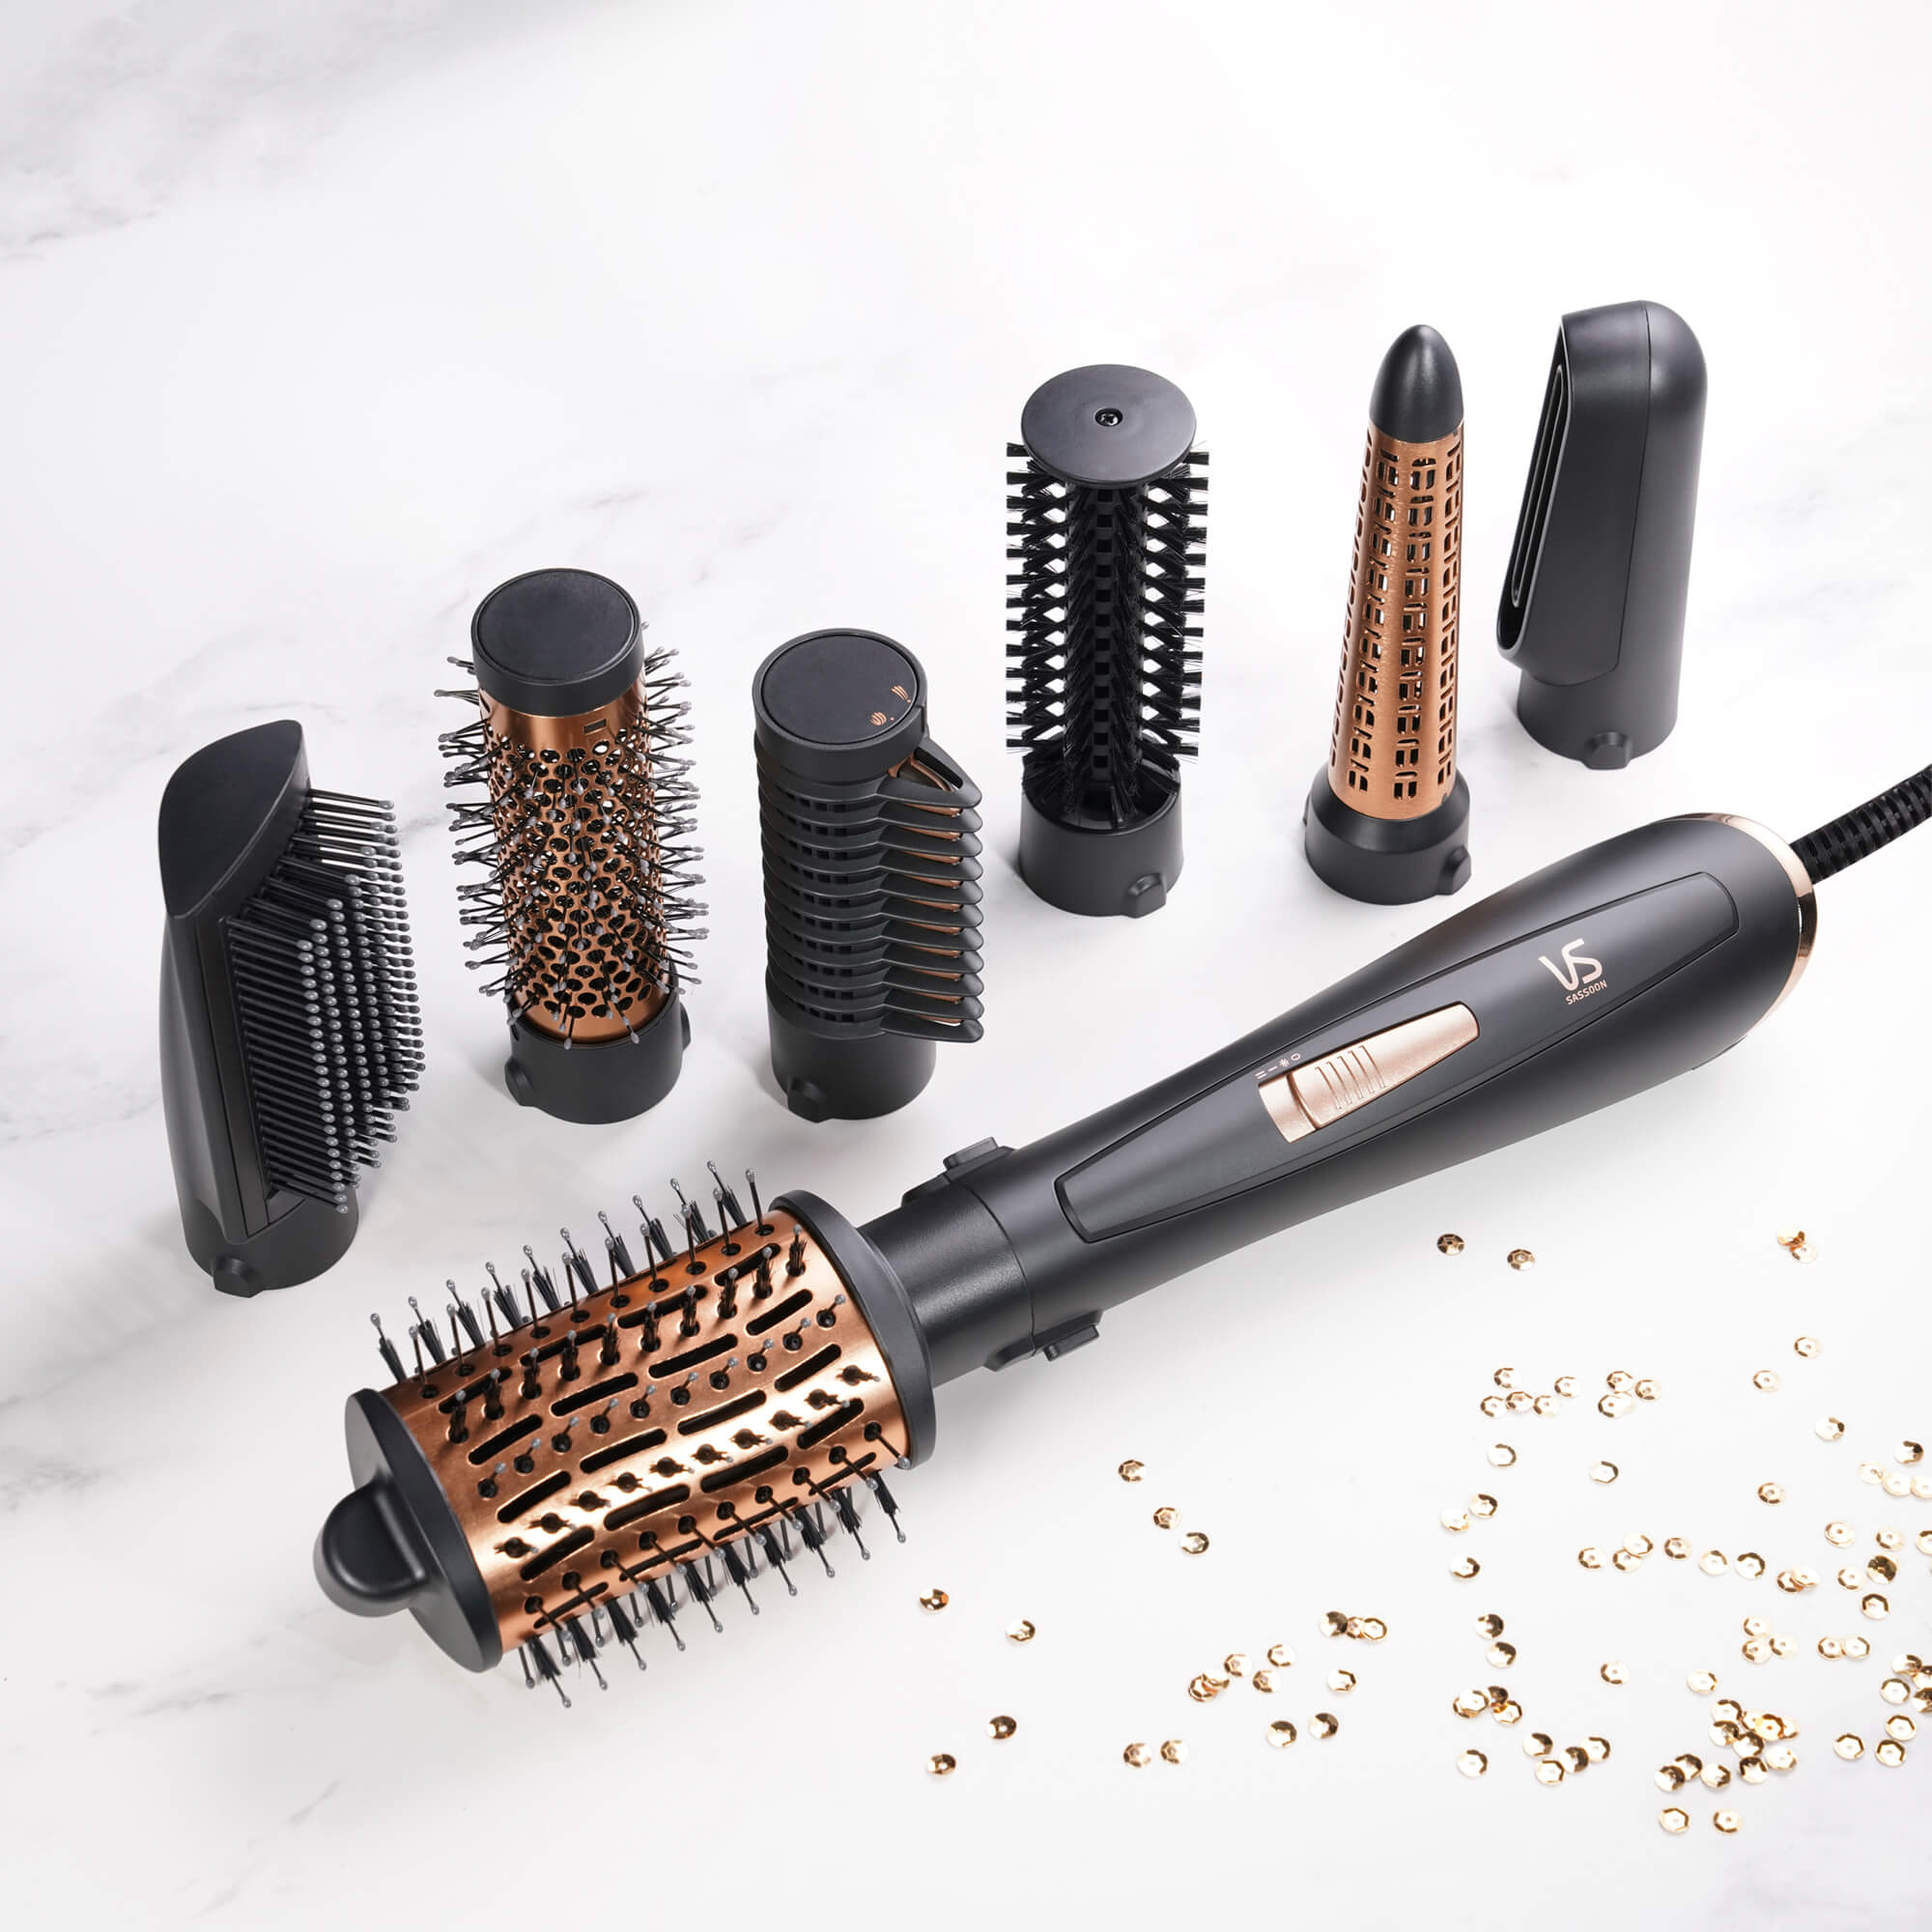
Your hot air styler and hot air brushes work hard to give you smooth, shiny, salon-quality DIY hair, so it deserves a little TLC too! Over time, dust, hair, and product build-up can clog the air intake vents and cause your styler to overheat. Regular cleaning of the rear filter keeps your tool performing at its best, helps prevent overheating, and keeps your hair looking healthy and gorgeous every time you style.
Here's how to correctly clean your hot air styler - both the rear filter and attachments:
Cleaning the Rear Filter & Housing
- Unplug your hot air styler before cleaning.
- Allow it to cool completely.
- Hold the handle, then twist and pull or unclip the rear filter. If your styler has a fixed rear filter, just skip this step.
- Clean the rear filter with a soft brush, dry toothbrush, or cotton swab to gently remove hair, dust, and product build-up from the filter and vents. Always make sure the air vents are 100% clean before use.
- Replace the rear filter.
- Clean the handle and housing with a dry or slightly damp cloth to remove dust, product residue, and fingerprints.
Now for the attachments:
Attachments on your hot air styler can collect hair, dust, and product residue over time. Regular cleaning keeps them working at their best and prevents product build-up from transferring back to your hair.
- Remove the attachment (oval, round, flat paddle, etc) from the cooled-down styler.
- Run a comb or tweezers through the bristles to free any hair or debris.
- Use a soft cloth to clean the exposed barrel to remove any product build-up.
You're done! How easy was that!
PRO TIP FOR CLEANING THE BRISTLES:
- For light buildup: Wipe the bristles with a dry cloth or a soft brush.
- For heavier buildup: Use a slightly damp cloth with mild soap or a baby wipe. Avoid soaking the brush to prevent water from entering the attachment’s base.
Note: Always consult your hair tool’s instruction booklet for product-specific guidance and safety information.
How to Clean Your HAIR BRUSH
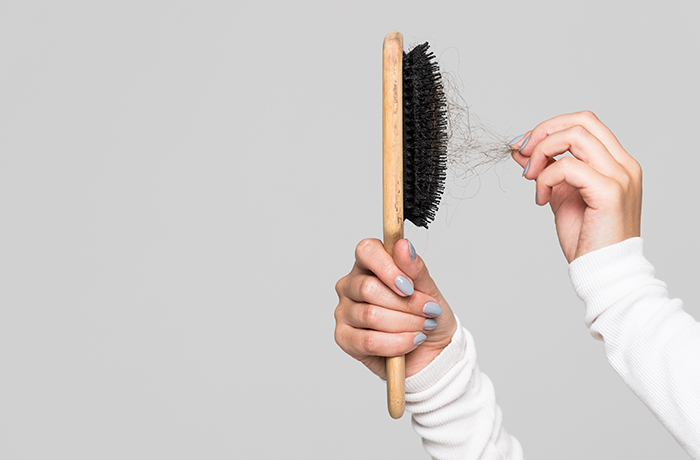
Blow dryers, straighteners, hot air stylers & curling tongs aren't the only tools that need regular attention. Let's talk about hair brushes!
FACT: Are you noticing your hair on the greasy side more often than not? That’s because you’re not washing your hair brush & the build-up of styling sprays and products is in fact, making your hair greasy. We recommend you wash your brush at least once a week - just wash it when you wash your hair. Super simple. Here’s how.
- To free any build-up of hair or dust, try using a comb or set of tweezers and run through the brush
- Separate the bristles
- Rub on some shampoo to break down any residue
- Once soapy, rinse the bristles with running water
- Use a comb to help wrestle out any stubborn hair or dust
- Set to dry overnight before using the brush again.
TIP: Snapped bristles can cause hair breakage. When was the last time you invested in a NEW hairbrush? Try to keep your hairbrush stored in a way that it doesn't bend or crush the bristles.
FINAL PRO TIP: Check the power cord and plug of your styling tools for any buildup or damage and wipe clean if needed.
That's it - you’re all set!
Keep this checklist handy for when you next need to clean your hair stylers. Your hair will thank you for the effort!
Love your style, from the VS Sassoon team xo